Home
About Homeschool
How do I start?
About Robinson
Curriculum (RC)
Tips for RC users
Format Text Files
Print Books at Home
Bind Books at Home
Free Books Online
(RC, Henty & more)
Rosegate's Free Files
Lists (many RC)
Series Order
Homeschool Name/ ID
Latter-day Saints & RC
Links for Homeschool
Contact
Site Map
So that you don't have to wait for all the pictures to download, you can just click on the ones you'd like to see.
All of these books are half-size (5.5" x 8.5"). Most were done using the method on my binding page. (Comb-punched, cardstock spine, covered in clear laminate.) One shows how it would look with duct tape on the spine and corners. And one shows how it looks covered in contact paper (not clear). It's also the same book that was punched with a 3-hole punch instead of a comb punch.
- Outside of Finished Books
- Inside the Finished Books
- Pre-printing
Outside of Finished Books
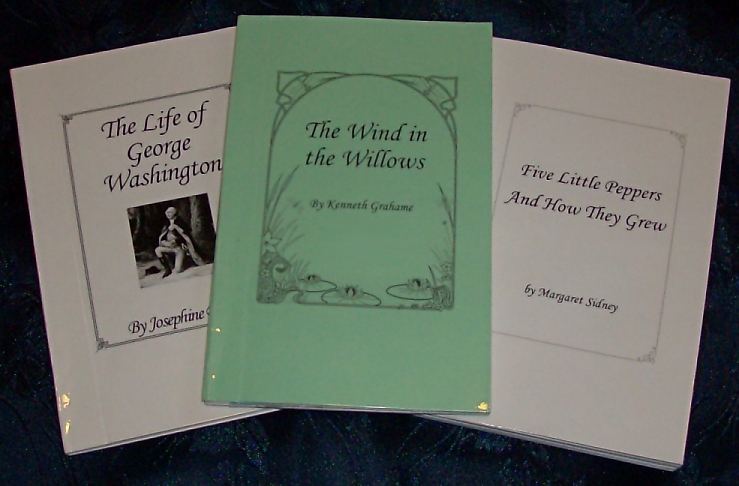
Covers - Front view of a few of my finished books. You can used colored cardstock for variety, or print colored pictures (if you have a color printer), or color pictures after printing. These are covered with Xyron clear laminate roll. The duck brand clear contact paper looks the same.
Contact Paper Cover - Covered in regular contact paper (not clear). This spine is just a strip of contact paper over the sewing. It's stayed on perfectly, and looks neater than duct tape. You can tell by my handwriting why I needed to be able to print the titles on the covers and spines.
Duct Tape Spine and Corners - Covered in clear laminate, with a duct tape spine (placed over my cardstock spine, just to show what it looks like). Also has duct taped corners just to show that you can make it cute that way. (See next picture for details on applying corner tape.)
Clear Tape Corners - This paperback I bought started showing wear quickly. To keep it new-looking longer I added clear tape to the corners. (Clear mailing tape) You can barely see it on a book unless the light's reflecting off it. It's saved, or spared, a number of our favorites. You can also add clear tape all along the edges to protect it further. Clear tape along the top and bottom of dust jackets is a great way to keep them from getting ratty.
To apply: Be sure to cut off any excess past the tip of the corner, so that when it folds over it doesn't overlap and then not stick. (Here's an example of where to cut the corners. That example is for completely covering the book, but the same principle applies with corner tape.)
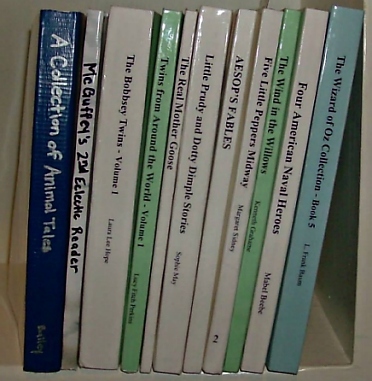
Spines - Here are a few of my books sitting on the shelf. The first book has a duct tape spine, and the second has a contact paper spine (not clear). The rest are printed cardstock spines (covered in clear laminate).
Ends of Books - The top book doesn't have the end sewn over with dental floss, but the bottom book does. (Just make sure you don't have green dental floss!) I didn't think I wanted the ends sewn to begin with, but soon realized you can hardly see it, and now I always do it that way. (You'll notice the pages aren't perfectly aligned at the spine edge. That's because I didn't cut them perfectly to begin with. But I tapped the outside edge so it would be neat and smooth, and didn't worry about the edge inside the spine.)
return to menu
Inside the Finished Books
Comb-Punched / Wordprocessor book - This book was printed from WordPerfect and was punched with a comb-puncher. You can see how little of the punched holes show when the book is opened all the way. (And that it's easy enough to open and hold with one hand. It opens farther, and more easily, because it requires only a 1/4" total binding allowance.) Note: I may have indented a bit more than usual on this particular book.
Sorry it's blurry. This book looks larger than the one in next picture because it opens farther, but both books are half-size. The font size used was 11-pt. Times New Roman, which matches the size in a mass-market paperback.
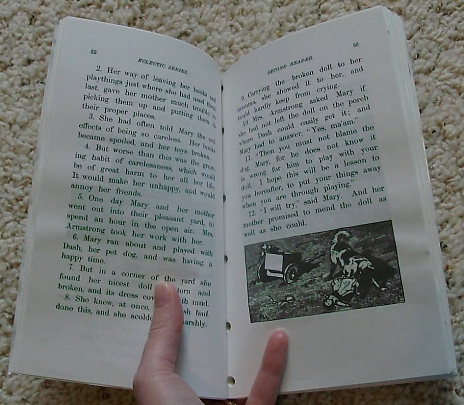
3-hole Punched / RC book - This book was punched repeatedly with a regular size hole punch and sewn together. (Okay, so it's more than 3-hole punched, but the holes are the same size.) The holes are visible when the book is open, and it doesn't open as far or as easily as with the comb punch. (Because it requires 1/2" total binding allowance.)
You can see that the print is very large and legible, even though the book was printed in half size. (The reason the pages are wrinkly is because I printed it with my inkjet printer, before I got a laser printer. This was my first book.)
Open book from the side - My little cutie reading a book. (In another picture, one with a head, she'd be much cuter!) This is a half-sized, comb-punched, sewn book, and you can see how easily it opens.
return to menu
Pre-Printing
Comb-punched Half-sheet - What an exciting picture! This is just a half a piece of paper that's been comb-punched. It's got 15 holes, which are 1/8" wide, and they about 1/8" from the edge of the paper. (You can tell in the picture that the hole is actually a tiny bit less than 1/8" from the edge of the paper.)
I have never yet had a page fall or tear out. I did mess up a book once and had to tear out some of pages after printing. It was NOT easy.
Screen Print of WordPerfect Page (may need to click on to zoom in) - The light blue bar at the left is the binding allowance (set at 0.25"). On even-numbered pages that bar's on the other side. The margins are displayed as the dotted lines. If you read the formatting page and wondered if it was worth the trouble to do your own, here's what it looks like when you get done.
return to menu